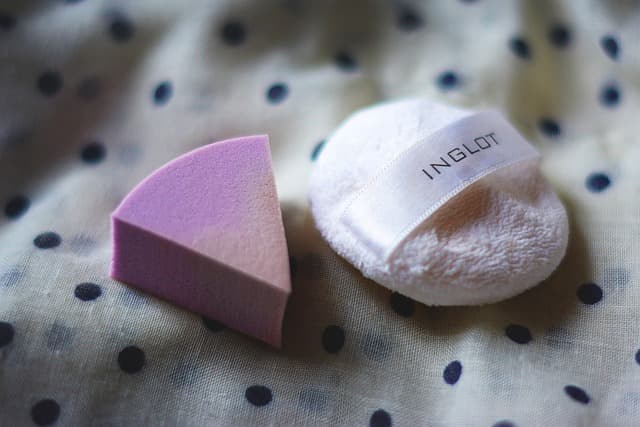
Today we will talk about an indispensable makeup tool—the sponge! It has changed the beauty industry: since its appearance, applying cosmetics has become much easier. So much so that today we cannot do without it. But why? What makes it so unique?
How did the makeup sponge come about?
Unlike brushes and other accessories, a makeup sponge guarantees precise and perfect application of any cosmetic product. Thanks to it, they go on in an even, thin layer. And we know how important it is to have a beautiful, natural base for makeup.
All the sponges currently on the market are very different from those sold in the past. The first prototypes contained latex and were triangular. Despite the success of the idea, buyers complained that the products were applied unevenly — the latex prevented the product from being absorbed and left marks.
How many types of sponges are there?
There are many types of sponges on the market that are suitable for absolutely any purpose. How to use a sponge and which one to choose? It’s simple:
Drop-shaped sponges. This type is definitely the most popular! This shape is universal: its curves are suitable for applying foundation all over the face, and the thin tip allows you to work on hard-to-reach areas, such as around the nose and eyes. You can also use it to apply concealer. Perfect, isn’t it?
Flat-sided sponge. Sponges with a completely flat side are often found on the shelves of cosmetics stores. The difference from the previous type is that the flat side allows you to apply the product to a large area of the face more quickly.
Pumpkin-shaped sponge. This type has two narrow parts: in the middle and closer to the tip. Thanks to its unique shape, this sponge is absolutely versatile! It can be used to apply powder, foundation, and eye shadow.
How often should you change your sponge?
Blenders usually last 4 to 5 months, after which they may start to crumble or become very soft. However, an important step in getting the most out of your sponges is cleaning them. Ideally, they should be washed after each use, as this is the only way to prevent the growth of bacteria or mold.
How to wash a makeup sponge?
Use mild soap and warm water to clean the sponges. This will help remove any remaining cosmetics. Rinse and dry the sponge thoroughly. If there is a lot of product left on the blender, you can soak it in soapy water for 30-60 minutes. After that, squeeze it to remove any remaining water and let it dry. Do not use makeup remover as a cleaning agent — it can damage the texture of the sponge!